
Turning a Plain Fence Line into a Native Hedge
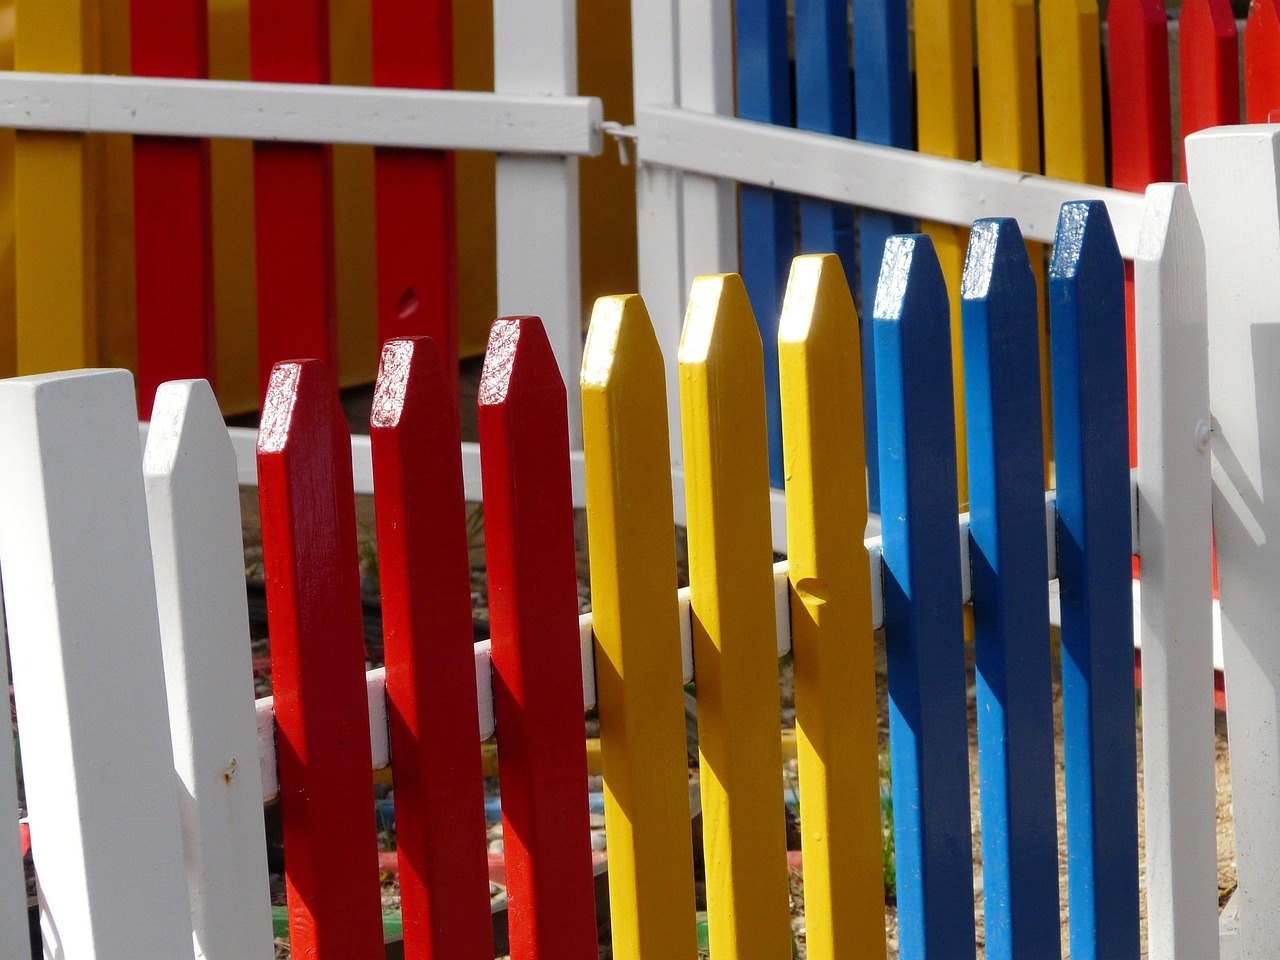
Many gardens and smallholdings are ringed with fencing, which does its job but offers nothing to wildlife and little to look at. The good news is you do not have to rip out your fence to gain a hedge. In most cases you can plant a native hedge alongside the existing boundary and let it take over gradually, removing the fence only once the hedge is established and doing the work itself.
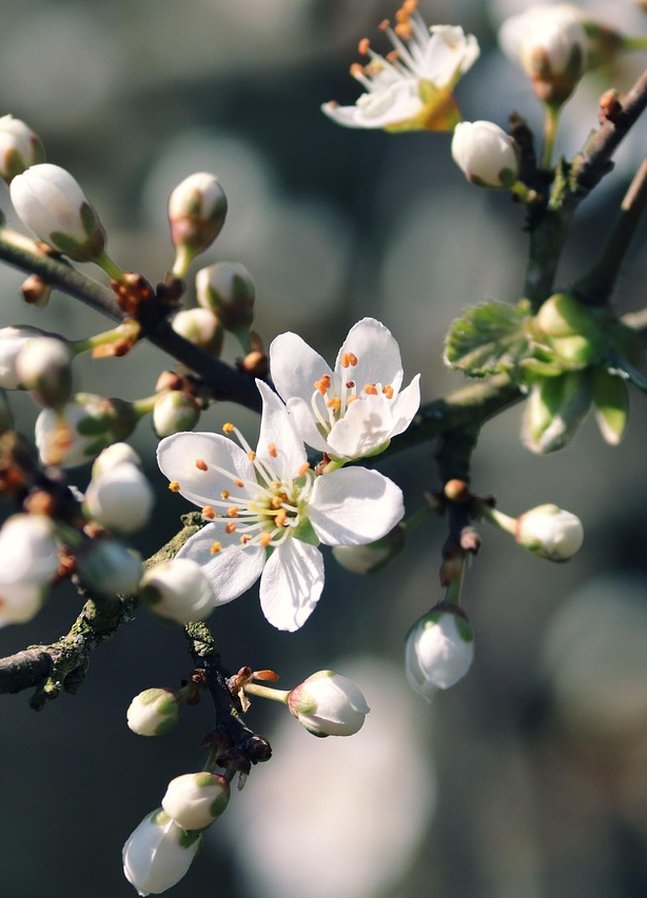
Start by assessing the site. Note how much sun the line gets, whether the ground is wet or dry, and how much space you have. Native hedges are adaptable, but matching plants to conditions gives far better results. A sunny, free-draining boundary suits hawthorn, blackthorn, and dog rose. Damp, shaded ground favours alder, willow, and hazel. Look at what already grows nearby, as this tells you what will thrive.
Planning the Line and Preparing to Plant
Decide how wide your hedge can grow. A native hedge is not a thin screen; it needs room to spread, ideally at least a metre wide at maturity. Leave a gap between the fence and the planting line so the hedge has space and you can still access the fence while the hedge establishes. Mark the line with string and clear a strip of ground of weeds and grass, which would otherwise compete with young plants.
Choose your whips as bare-root plants if you can, as they are cheaper and establish well when planted in the dormant season. Mix at least four or five species for a hedge that flowers, fruits, and shelters wildlife across the year. Plant in a staggered double row for density, spacing whips around 30-45cm apart. Water them in well and mulch the base to hold moisture and keep weeds down.
If you want the hedge to blend with an existing fence, you can plant on just one side and let the hedge grow through and eventually obscure the wire. This is often the simplest approach and means you keep the fence as a temporary barrier while the hedge matures. Just be careful not to damage fence posts when digging, and leave enough room so the growing hedge does not push against the fence and distort it.
Managing the Transition from Fence to Hedge
For the first few years, the fence stays and the hedge grows. Cut the young hedge back by about a third each winter to encourage bushy growth from the base, and keep it watered through dry spells. By year three or four, the hedge should be dense enough to act as a boundary in its own right. At that point you can remove the fence, or leave it in place if it still serves a purpose and is not visible.
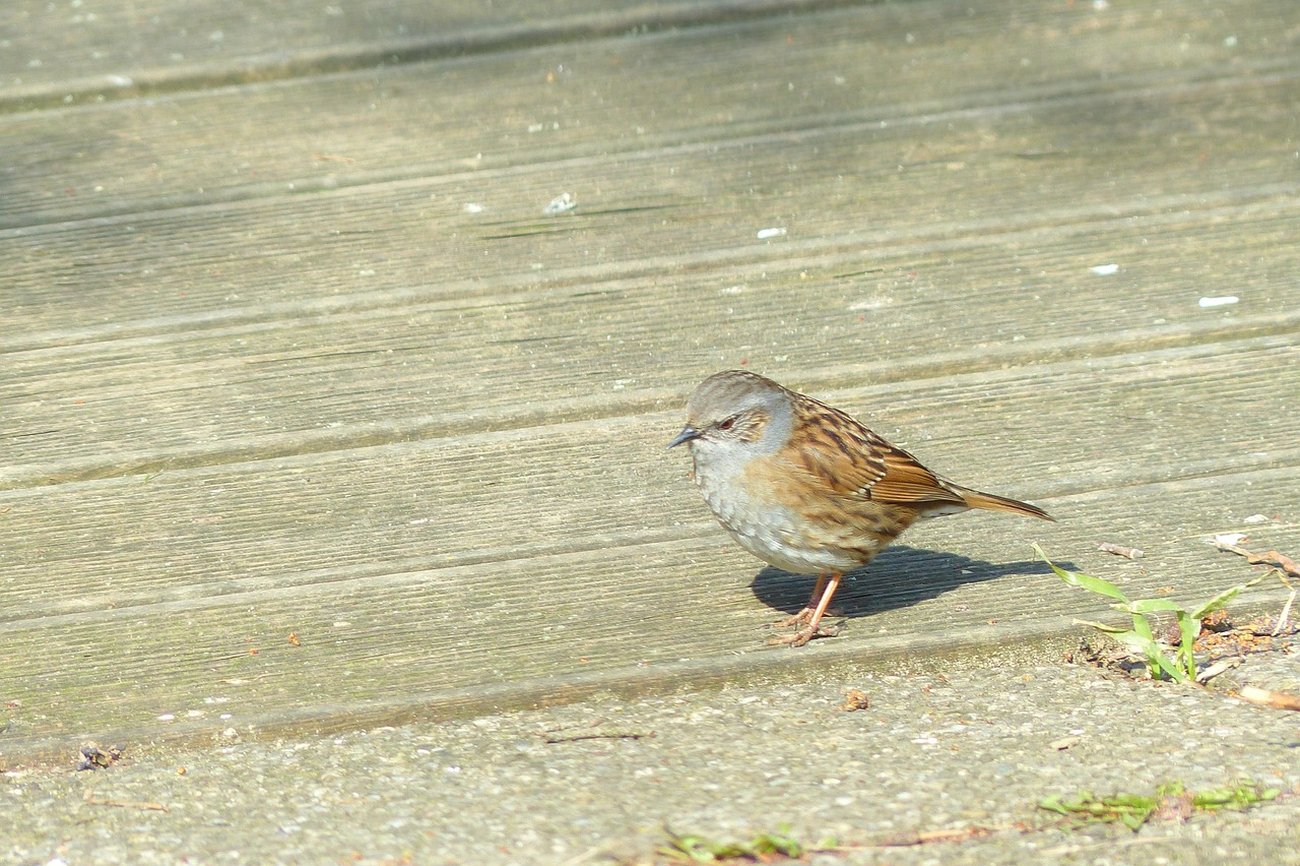
A living hedge boundary needs less maintenance than people expect once established. An annual trim, timed for late winter to avoid nesting birds, keeps it in shape. Let some sections grow taller and flower for extra wildlife value. The result is a boundary that is softer, greener, and alive, replacing bare wire with blossom, berries, and birdsong. It takes a few years of patience, but the transformation from plain fence to native hedge is one of the most rewarding changes you can make to a plot.

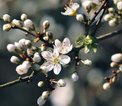
If your boundary is all posts and wire, you can replace it with a living native hedge that looks better and does far more for wildlife.
A practical walkthrough of how to match native hedge species to your site's soil, drainage, and climate before you ever dig a hole.
Hedge laying is the old skill of partially cutting and bending stems to create a dense, stock-proof living barrier — and it's still the best thing you can do for wildlife.
How to plan a hedge network that links habitats across your garden or smallholding, so wildlife can move safely from one place to another.
A month-by-month guide to keeping your native hedgerow healthy without harming the wildlife that depends on it.