
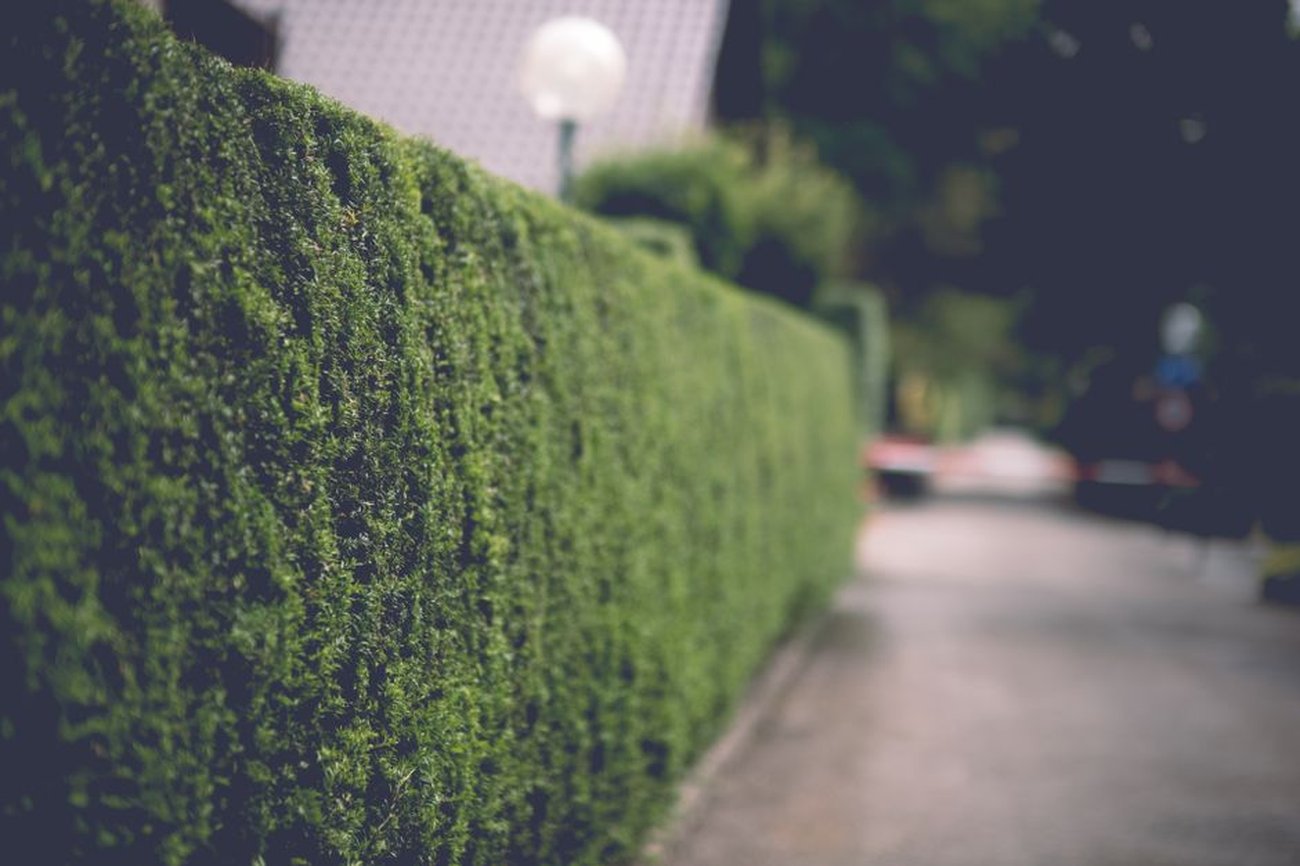

Planting a Bare-Root Hedge: A Beginner's Step-by-Step Guide
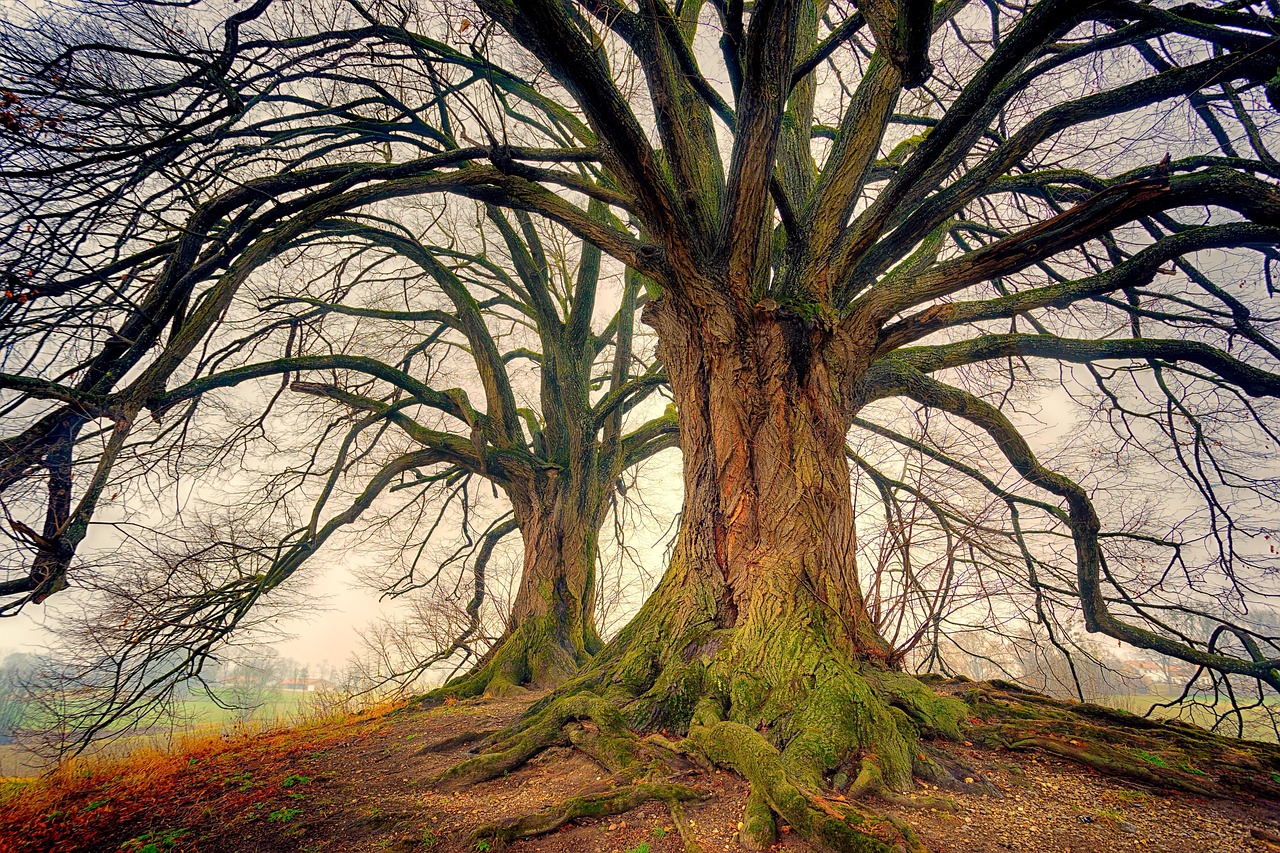
If you want a native hedge without spending a fortune, bare-root plants are your best friend. Unlike pot-grown shrubs, bare-root whips are lifted from the field while dormant and sold with their roots exposed. They are lighter, cheaper, and often establish faster because their roots start exploring your soil straight away. The trade-off is timing: bare-root hedging is only sold between late autumn and early spring, when the plants are asleep and won't suffer from the disturbance.
Before you buy anything, sort out your ground. Native hedging is not fussy, but it hates sitting in waterlogged clay. If your site puddles in winter, dig in plenty of organic matter and consider planting on a slight ridge so water drains away from the roots. Clear weeds along the proposed line, especially perennial grasses, which will outcompete young whips for moisture.
Preparing the Ground and Spacing Your Plants
Mark out your hedge line with a taut string. A single row is fine for most gardens, but a double staggered row gives a denser, more wildlife-friendly hedge. For a single row, plant whips 30-45cm apart. For a double row, space the rows 40cm apart and stagger the plants so each one sits opposite the gap in the other row. This staggered pattern is what makes a hedge thick enough for birds to nest in.
Dig a trench roughly a spade's depth and width, or individual holes if you prefer. Fork the bottom to loosen compacted soil. If you have hungry, sandy ground, mix in some well-rotted compost, but avoid rich fertiliser, which encourages soft growth that frost will damage.
Before planting, trim any damaged roots with sharp secateurs and soak the roots for an hour if they look dry. Position each whip at the same depth it was growing before, which you can usually tell from the soil mark on the stem. Spread the roots out, backfill gently, and firm the soil with your heel to remove air pockets. Air pockets are the number one killer of new bare-root plants.
Aftercare for the First Year
Water thoroughly after planting, even if rain is forecast. New hedges need consistent moisture through their first spring and summer, so water deeply every week or two during dry spells rather than little and often. A mulch of bark chips or well-rotted manure around the base will lock in moisture and suppress weeds, but keep it clear of the stems to prevent rot.
Cut your new hedge back by about a third immediately after planting. It feels brutal, but this hard pruning encourages bushy growth from the base instead of a few spindly stems. Do the same again the following winter. Within three or four years you will have a dense, self-contained hedge that needs little more than an annual trim.
Finally, be patient. Bare-root whips look like sticks for the first season while they build roots underground. The growth above the soil often surprises people in year two, when the hedge suddenly leaps. Plant enough whips to fill your line properly, keep them watered and weed-free, and your native hedge will reward you for decades.

Bare-root hedging is cheap, quick to establish, and easy to plant if you get the timing and technique right.
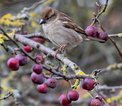
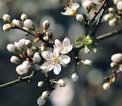
A wildlife hedge earns its keep by offering flowers, berries, and shelter across the seasons, so pick plants with more than one job.
The way you cut a hedge decides whether it feeds wildlife or just looks tidy, so it pays to know when to trim and when to leave well alone.
On a working smallholding, a native hedge earns its place by sheltering livestock, cutting wind damage, and supporting pollinators alongside crops.
If your boundary is all posts and wire, you can replace it with a living native hedge that looks better and does far more for wildlife.